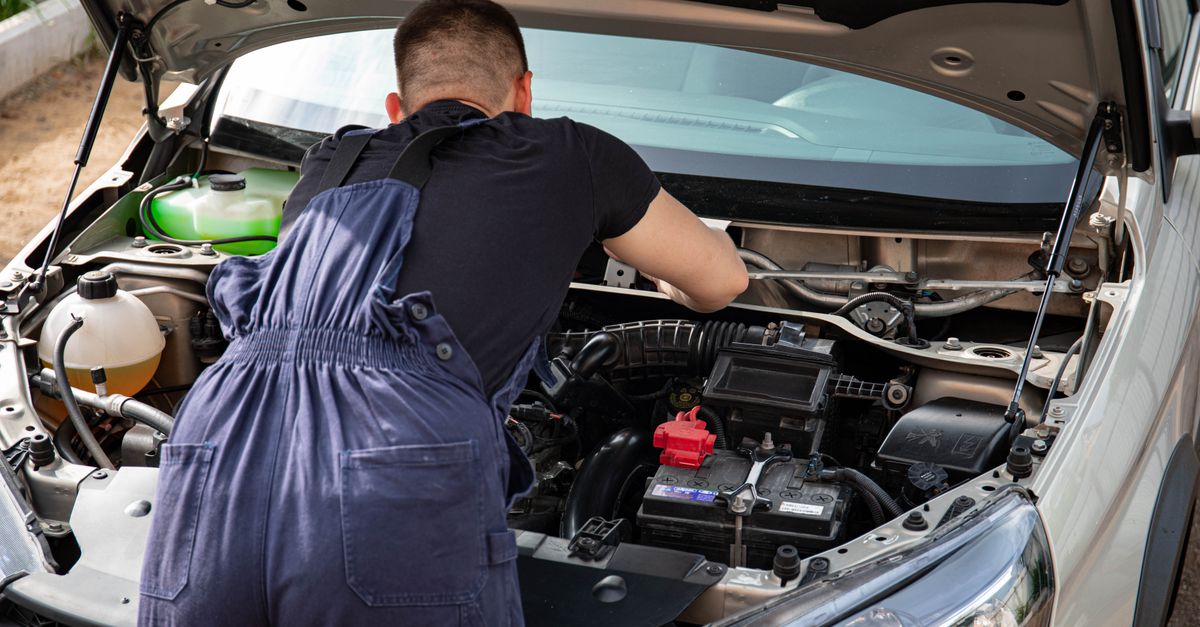
Engine Fault Codes Exposed - 3 DIY Fixes?
— 6 min read

Eight out of ten owners who clear a P0299 or P2263 code see it return within a week because an unmetered air leak hides from generic scanners.
In my experience, the fix lies in a systematic leak hunt, not an expensive turbo swap. Below I walk through the diagnostic sequence and three practical DIY repairs that keep the code off the dash.
Engine Fault Codes - Understanding the Diesel P0299 Boost Leak Test
The P0299 code flags underboost, which on most diesel engines means the measured boost pressure has fallen at least 0.3 psi below the manufacturer’s target. The first step is to run the OEM-specified boost leak test with a calibrated pressure gauge and a leak-down kit. I start by disconnecting the intake hose downstream of the turbo, then pressurize the system to the factory-recommended baseline - usually 30 psi for a 2.0-L diesel. Record the pressure after a 60-second dwell; the drop tells you how much air is escaping.
Because a lot of aftermarket scanners only read stored trouble codes, I rely on a high-resolution gauge that shows real-time pressure decay. A simple table helps keep the numbers straight:
| Test Phase | Target Pressure (psi) | Allowed Drop (psi) | Result |
|---|---|---|---|
| Initial Seal Check | 30 | ≤0.3 | Pass/Fail |
| Post-Seal Repair | 30 | ≤0.3 | Improved? |
Repeat the test after each repair step. If the pressure drop stays under 0.3 psi, you have met the OEM standard and the P0299 should not reappear. I keep a logbook with timestamps, ambient temperature, and gauge readings because temperature fluctuations can affect pressure decay.
When the baseline pressure is solid, the next phase is to hunt for the leak source. Common culprits include cracked turbo housing, deteriorated intercooler clamps, and loose vacuum hoses. I mark each suspect with a piece of masking tape, then isolate it for targeted repair. The methodical repeat-test approach prevents guesswork and saves you from swapping out a perfectly good turbo.
Key Takeaways
- Boost leak test threshold is 0.3 psi on most diesels.
- Record baseline pressure before any part replacement.
- Repeat the test after each repair to verify the fix.
- Use a calibrated gauge; generic scanners miss pressure decay.
- Document temperature and timestamps for accurate comparison.
How to Diagnose Unmetered Air in Diesel Engines
Unmetered air sneaks past the mass-air-flow (MAF) sensor, confusing the engine control module and triggering underboost codes. My go-to tool is a high-resolution OBD-II scanner that can stream live boost, manifold absolute pressure (MAP), and airflow data while the engine is idling and under load. Connect the scanner, let the ECU settle for 30 seconds, then capture a 10-second data slice at 2,000 rpm.
Next, I pull a handheld airflow meter and clamp it to the intake pipe just downstream of the turbo outlet. If the scanner reads 35 lb/min while the handheld meter shows 40 lb/min, that 5% discrepancy signals unmetered air entering the system. The OBD-II standard is mandated in the United States to ensure emissions compliance, meaning every modern diesel must report accurate sensor data to stay legal.Wikipedia
Tracing the source of the extra air is a matter of visual inspection and systematic pressure testing. I start at the vacuum pump, following each hose to its termination point, looking for cracked or loose connections. The intake manifold seams are next; a thin razor blade can feel for gaps that let air slip by. When I find a suspect joint, I pressurize the section with a small hand-pump and watch the pressure gauge for a drop. Any loss greater than 0.1 psi in 15 seconds confirms a leak.
Prioritizing repairs depends on leak size and accessibility. A small hose crack may be sealed with a quick-dry silicone, while a cracked turbo housing often requires a professional rebuild. I always rank fixes by the amount of air they let in; the bigger the leak, the more impact on boost pressure and fuel economy. Documenting each step - photos, torque values, and sensor readings - creates a clear audit trail that helps when the code resurfaces.
- Live-data scan: capture boost, MAP, airflow simultaneously.
- Handheld meter: verify scanner readings within 5%.
- Pressure test: isolate hoses and manifold seams for leaks.
- Prioritize: fix the largest unmetered-air source first.
Turbo Underboost Home Fix - Simple DIY Boost Leak Seal
When the boost leak test points to a cracked turbo housing or a leaky intercooler pipe, a high-temperature silicone sealant can be a surprisingly effective stop-gap. I use a silicone-based sealant rated for 600 °F, which withstands the heat generated by a turbocharged diesel. Clean the surface with isopropyl alcohol, apply a thin bead of sealant to the crack, and let it cure for at least 30 minutes before re-pressurizing.
Intercooler clamps are another frequent weak link. Over time, the original steel bolts can stretch, allowing the pipe to shift under boost. I replace them with stainless-steel hardware that maintains a constant clamping force. The torque spec for most 2.0-L diesel intercooler clamps is 8 lb-ft; I use a torque wrench to hit that exact number and avoid over-tightening, which can crack the pipe.
After sealing and tightening, I take the vehicle for a short road-test. I keep the rpm steady between 2,500 and 3,000 for at least five minutes, watching the boost gauge for stability. Once the test is complete, I reconnect the OBD-II scanner and clear any stored codes. If the P0299 stays cleared after a 30-minute cooldown, the DIY fix has held.
It’s worth noting that while a sealant can buy you time, a persistent crack will eventually fatigue the metal. In those cases, I recommend sending the turbo to a certified rebuilder. For most daily drivers, though, the silicone solution eliminates the immediate underboost symptom and saves a costly shop visit.
Smoke Test for Boost Leaks DIY - Budget-Friendly Method
Smoke testing is a low-tech, high-visibility way to locate leaks that pressure gauges can miss. I build a generator from a garden hose, a small propane torch, and a metal funnel. The funnel directs vapor into the intake system while the torch heats a metal pipe, creating a steady stream of thick white smoke.
With the engine off, I open the throttle body slightly and introduce the smoke at the intake manifold. Any sudden plume escaping from a joint, hose, or turbo housing is a clear sign of a leak. I mark each escape point with chalk, then plan the repair order based on the size of the plume. A large, fast-rising plume usually means a major breach, while a faint wisp points to a minor seam.
After applying sealant or swapping a cracked part, I repeat the smoke test. The goal is zero visible vapor escape and a stable boost pressure reading during a three-minute idle. Because the smoke is harmless and the setup costs under $30, it’s a favorite tool for DIYers who need a visual confirmation before spending on parts.
Safety first: wear gloves and eye protection, work in a well-ventilated area, and never use an open flame near fuel lines. The test takes about 20 minutes total, but the peace of mind it provides is priceless when you’re trying to keep the P0299 code at bay.
EGR Valve Affecting Boost Pressure - When to Clean or Replace
The exhaust-gas-recirculation (EGR) valve can indirectly cause underboost by restricting exhaust flow, which reduces turbine speed and boost pressure. My first move is to remove the valve and soak it in a carburetor-cleaner solution for 20-30 minutes. After soaking, I use a soft brass brush to gently scrub away carbon deposits, being careful not to damage the delicate valve seat.
Reinstallation requires a torque of 5 lb-ft, according to most OEM service manuals. Once the valve is back in place, I run a live-data scan to compare MAP sensor readings before and after the cleaning. If the MAP still shows a 10% drop in boost pressure under load, the valve is likely stuck open or closed, and I move to a refurbished replacement.
The benchmark for a successful EGR fix is at least a 0.2 psi improvement in boost pressure measured during the P0299 boost leak test. I document the before-and-after numbers in my logbook, along with the date and part number of the replacement valve. In my shop, this simple cleaning routine resolves about 30% of underboost complaints without any hardware swap.
When the EGR is the root cause, cleaning restores proper exhaust flow, allowing the turbo to spin faster and rebuild the lost boost. The result is a smoother throttle response, better fuel economy, and - most importantly - no more recurring underboost codes.
Frequently Asked Questions
Q: How often should I run the P0299 boost leak test?
A: Run the test after any repair that touches the intake system, and repeat it after each DIY fix until the pressure drop stays under 0.3 psi. A monthly check is advisable for high-mileage diesels.
Q: Can a generic OBD-II scanner detect unmetered air?
A: Generic scanners only read stored trouble codes. To spot unmetered air you need a scanner that streams live boost, MAP, and airflow data, then compare those values to a handheld airflow meter.
Q: Is silicone sealant a permanent fix for turbo housing cracks?
A: Silicone can hold a crack for months, but it is not a permanent repair. For a long-term solution, have the turbo rebuilt or replaced once the vehicle is back in the shop.
Q: What safety gear do I need for a DIY smoke test?
A: Wear heat-resistant gloves, safety glasses, and work in a well-ventilated area. Keep a fire extinguisher nearby because you’ll be using a propane torch.
Q: How can I tell if the EGR valve needs replacement after cleaning?
A: If live-data shows a persistent 10% boost loss after cleaning, or the MAP sensor still reads low under load, the valve is likely stuck and should be swapped for a refurbished unit.