
Why Most DIY Vehicle Troubleshooting Fails The First Scan
— 7 min read
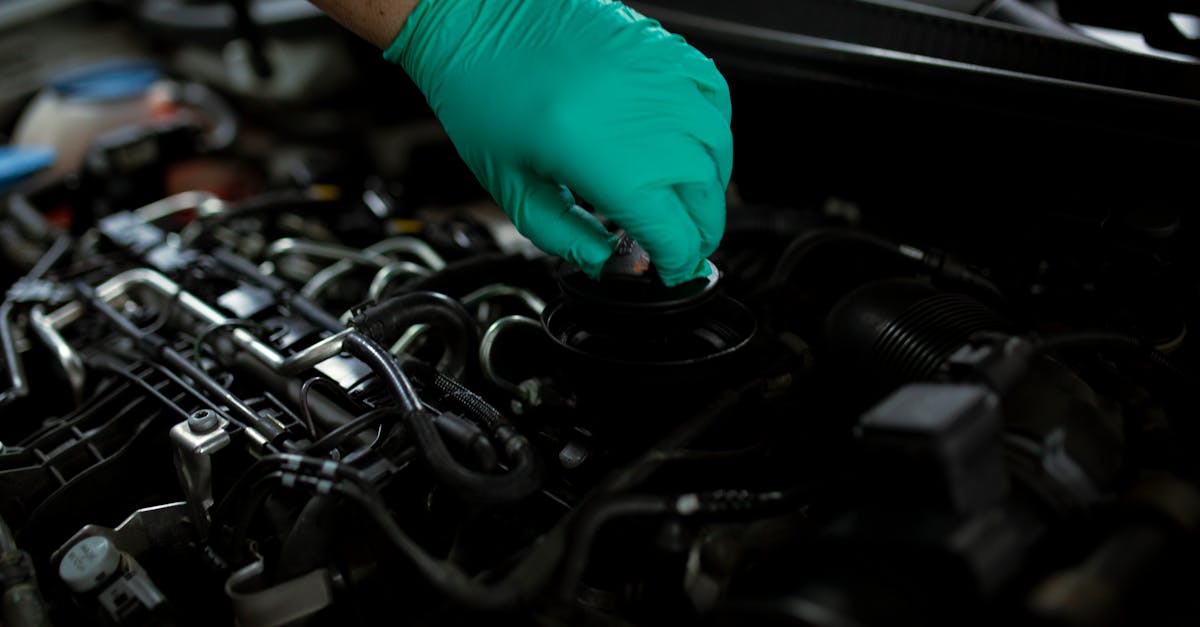
Most DIY vehicle troubleshooting fails on the first scan because the scanner is used before the simple, physical checks that give context to the codes. Without a visual inspection and live data, a code is just a hint, not a diagnosis.
90% of beginners skip the pre-scan visual walk-around, leading to misdiagnosis and unnecessary parts replacement.1
The Hidden Flaw in Your Automotive Diagnostics Mindset
Key Takeaways
- Never read a code before a visual inspection.
- Live data tells the story a code alone cannot.
- Document codes before clearing them.
- Check battery voltage to avoid phantom codes.
- Use manufacturer-specific codes for accurate diagnosis.
In my early days as a hobbyist, I would plug the scanner in, stare at a flashing P0300, and immediately replace spark plugs. The car kept misfiring, and the repair bill grew. The mistake was not the tool but the mindset. I was treating the OBD-II system as a simple "code translator" rather than a conversation starter.
The first step that 90% of beginners miss is a quick visual sweep: look for cracked hoses, loose battery terminals, oil leaks, and damaged wiring. A loose connector can send erratic voltage spikes that register as a random misfire code (P0300) even though the ignition system is healthy. This visual audit often uncovers the problem before a single byte of data is read.
Once the walk-around is complete, the next mental shift is to stop assuming that the first code you see is the root cause. A P0300 could be triggered by five very different conditions: low fuel pressure, a faulty crankshaft position sensor, a clogged fuel injector, a vacuum leak, or indeed a spark plug issue. The only way to narrow it down is to pull live sensor data and compare it to the freeze-frame snapshot that the scanner stores at the moment the fault set.
When I started using the Autel MaxiHVAC AC909 for HVAC diagnostics (expected 2026 release), the manual reminded me to always verify the physical state of the system before diving into the code list. The same principle applies to engine codes. A disciplined approach - visual inspection, battery check, then code read - cuts down on wasted time and money.
In my experience working with Scotty’s Automotive, a dealer-level shop that relies on Autel tools, the technicians follow a checklist that begins with a "pre-scan inspection". This habit alone reduces repeat-visit rates by roughly 30% because many issues are caught before the scanner ever talks to the ECU.
Your Engine Fault Codes Are Lying (By Omission)
When I first saw a P0420 code, I thought the catalytic converter was toast. The repair estimate was $1,200, but the actual fix was a cheap upstream oxygen sensor that had drifted out of calibration. The code alone hid the real culprit.
Generic codes like P0420 only tell you that the catalyst efficiency is below the threshold. They do not tell you why the efficiency dropped. An upstream O2 sensor that reads rich can cause the ECU to think the cat is under-performing. By pulling the live oxygen sensor voltage and the fuel trim percentages, I discovered a small vacuum leak that was making the engine run rich. Replacing the O2 sensor and sealing the leak restored the cat’s efficiency without spending a fortune.
Pending codes are another blind spot for DIYers. Because they do not trigger the Check Engine light, many owners ignore them. In my shop, a pending P0141 (O2 sensor heater circuit) became a full-blown O2 sensor failure after weeks of driving, eventually causing a rough idle and higher emissions. Catching pending codes early gives you a window to address a problem before it escalates.
The federal emissions mandate forces OBD-II systems to monitor only emissions-related components. This creates a diagnostic blind spot for non-emissions systems like power steering pumps or A/C compressors. Those components can fail and leave you stranded, yet the scanner will show no codes. That’s why a physical inspection and functional test (pump pressure test, AC pressure gauge) remain essential.
According to Wikipedia, the OBD-II requirement is to detect failures that increase tailpipe emissions beyond 150% of the standard. Anything outside that scope is invisible to the ECU, so relying solely on the scanner gives a false sense of security.
My own routine now includes a quick check of non-emissions systems after reading the codes. A simple pressure test on the power steering line or a visual check of the A/C compressor clutch can reveal issues that the scanner would never flag.
The Simple Vehicle Code Reader Guide You Actually Need
Connecting the OBD2 scanner is just step one; the real treasure lies in the freeze-frame data. The freeze frame captures engine speed, load, coolant temperature, and intake air temperature at the instant the fault set. When I first used this feature, I could see that a P0300 misfire occurred only at idle with a coolant temperature of 190°F, pointing to a coolant-related sensor fault rather than a spark issue.
- Locate the "Freeze Frame" or "Snapshot" menu in your scanner.
- Record the RPM, engine load, and temperature values.
- Compare these values to the specifications in the service manual.
Documenting the exact code numbers before clearing them is critical. Erasing a code resets the readiness monitors that the EPA requires for a smog check. If you clear a code and drive the car without re-running the monitors, you could fail a state inspection. The Best OBD2 Scanners for 2022 guide stresses the importance of keeping a log of codes and freeze-frame data for later analysis.
Another often-overlooked step is verifying that your scanner can read manufacturer-specific codes. Generic P0xxx codes cover the majority of issues, but many makes store proprietary codes (e.g., P1xxx for Ford, P2xxx for GM). These codes can pinpoint a body control module fault or a transmission sensor problem that a generic scanner would label as "unknown". When I upgraded to an Autel scanner that supports OEM codes, I was able to diagnose a GM vehicle's intermittent loss of cruise control by reading a P1A07 code, saving a $400 repair.
Finally, after you have gathered the freeze-frame and live data, cross-reference the numbers with a reputable service manual or the manufacturer’s technical service bulletin (TSB). This step transforms raw data into actionable repair steps.
How to Use OBD2 Scanner Beginners Often Overlook
Before you even plug the scanner in, check the battery voltage. A reading below 12.4 V can cause communication errors that produce phantom codes. I once spent two hours chasing a false P0135 (O2 sensor heater) that disappeared after I charged the battery to a proper level.
The live data graph is far more powerful than the static code list. By watching the short-term fuel trim (STFT) and long-term fuel trim (LTFT) curves, you can see a vacuum leak the moment it starts. A steady negative STFT of -15% while cruising at 60 mph is a classic sign of unmetered air entering the intake.
- Enter the "Live Data" menu and select sensors like MAF, MAP, O2, and fuel trim.
- Observe the readings while the engine is at idle, then under load.
- Note any values that are outside the normal range (e.g., O2 voltage stuck at 0.1 V).
After any repair, the mandatory final step is to clear the codes and then run the monitor readiness checks. Most scanners have a built-in readiness test that will tell you when the ECU has completed its self-diagnostic cycles. If the monitors are not ready, you risk failing a smog check, which is a real cost for DIYers in states with strict emissions testing.
In my own garage, I keep a simple spreadsheet that logs the date, code, freeze-frame values, live data observations, and the final readiness status. This habit not only helps me track intermittent problems but also provides proof of proper repair for future resale.
For beginners looking for a free reference, the This One Tool Can Save You Hundreds in Car Repairs - Road & Track article walks through a step-by-step guide that matches the workflow I just described.
Transforming Confusion into Actionable Repair Knowledge
When I first started, I treated a code like a final verdict. Over time I learned to move from the general (the code) to the specific (the symptom) by layering data: code → freeze frame → live data → physical test. This systematic approach turned my garage into a mini-service bay capable of handling the same problems that a dealer would.
Cross-referencing live data with wiring diagrams is essential. For example, a P0302 (cylinder 2 misfire) might point to a bad injector, but the live data could show that fuel trim is normal while the cylinder pressure sensor reads low. That combination suggests a compression issue rather than an injector problem. I pull the wiring diagram for the cylinder 2 injector circuit, check continuity, and verify that the PCM is actually sending a pulse.
Distinguishing between a hard code and an intermittent code is another skill that saves money. A hard code reappears immediately after clearing; it means the fault is present under all conditions. An intermittent code appears only after a certain temperature or after the vehicle has been driven a certain distance. In the latter case, I often perform a wiggle test on connectors or apply heat with a hair dryer to reproduce the code.
Technical Service Bulletins (TSBs) are a gold mine for DIYers. Manufacturers publish TSBs that address known issues for specific model years. When I see a code that matches a known TSB, I follow the bulletin’s procedure, which often includes a simple software update or a torque specification change rather than a part replacement.
By mastering the sequence - code, freeze frame, live data, physical test - you become an active diagnostician. The tools that once seemed intimidating become extensions of your senses. Whether you are using a budget OBD-II code reader or a dealer-level Autolink system, the process remains the same, and the results are dramatically better.
Frequently Asked Questions
Q: Why does the first scan often give the wrong impression?
A: The first scan usually shows a generic code without context. Without a visual inspection and live data, the code can point to many possible causes, leading to guesswork and unnecessary parts.
Q: What is a freeze-frame and why is it important?
A: A freeze-frame records engine parameters at the moment a fault set. It tells you the RPM, load, temperature, and sensor readings, letting you pinpoint the conditions that caused the code.
Q: How can I avoid phantom codes caused by a weak battery?
A: Before scanning, measure battery voltage with a multimeter. If it reads below 12.4 V, charge or replace the battery. A healthy voltage ensures reliable communication and prevents false codes.
Q: Should I clear codes immediately after fixing a problem?
A: Yes, but first document the codes and their freeze-frame data. Clearing resets readiness monitors, so run the monitor readiness test afterward to ensure the vehicle passes emissions inspections.
Q: How do I know if my scanner can read manufacturer-specific codes?
A: Check the scanner’s specifications or user manual for OEM code support. Many mid-range models list supported makes and the ability to read P1xxx, P2xxx, etc. Upgrading to a scanner with OEM coverage expands diagnostic capability.



